
Prerna Portal Timetable Upload Guide Update (2026)
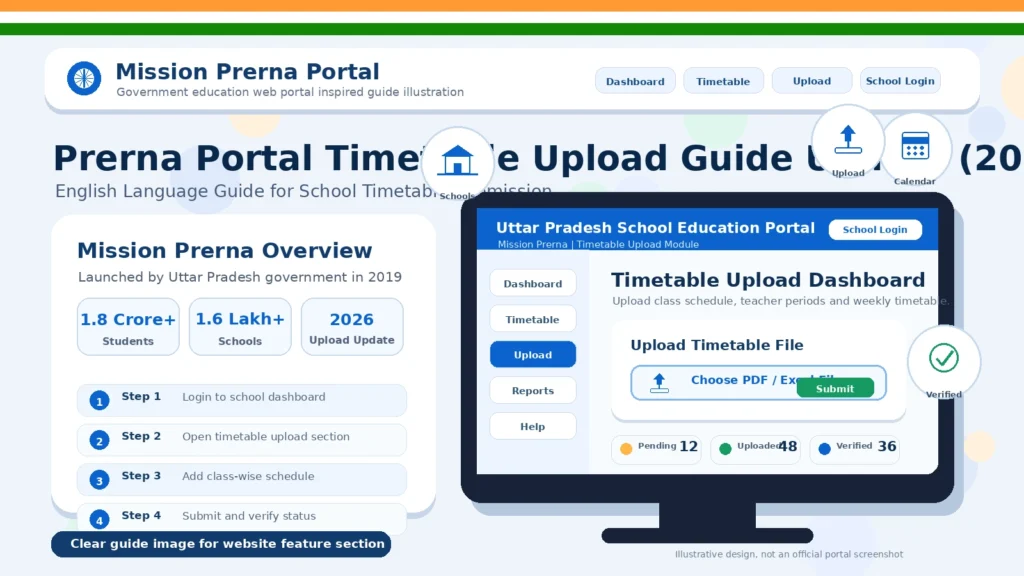
Uploading the timetable on the Prerna Portal is an essential task for school administrators and teachers. The Prerna Portal allows schools to organize and manage class schedules digitally, making it easier to track lessons, assign teachers, and maintain consistency across academic activities.
This guide will walk you through the step-by-step process of uploading the timetable on the Prerna Portal.

Why Upload a Timetable on the Prerna Portal?
Uploading the timetable on the Prerna Portal has several benefits:
Centralized Access
Teachers, students, and admins can access the timetable anytime from the portal.
Easy Updates
Any changes to the timetable can be made quickly and reflected instantly for everyone.
Error-Free Management
Helps reduce mistakes that often occur with paper-based timetables.
Efficient Resource Allocation
Ensures that teachers are assigned to the right classes at the right times, preventing scheduling conflicts.
You can also read: Prerna Portal MDM Entry Guide for Schools (Step-by-Step)
How to Upload Timetable on the Prerna Portal
Follow these simple steps to upload the timetable on the Prerna Portal:
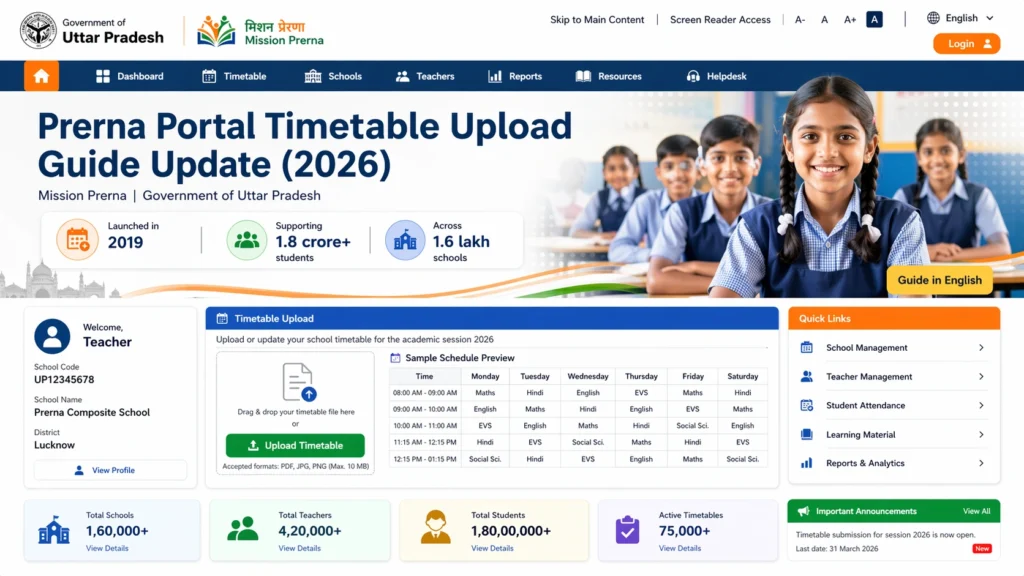
- Open the Prerna Portal website at prernaup.in.
- Click on Admin Login (or Teacher Login if you have the necessary permissions).
- Enter your registered mobile number and OTP (One-Time Password) to access the portal.
- Once logged in, you will be directed to your admin dashboard (or teacher dashboard, depending on your role).
- From the dashboard, find the Timetable section in the menu or navigation bar.
- Click on the Timetable Upload option.
- Before uploading, you need to ensure that your timetable is in the correct format:
- File Format: The portal typically accepts timetable files in Excel (XLS/XLSX) or CSV format.
- Data Structure: The timetable should include:
- Class Names
- Subject Names
- Teacher Names
- Days of the Week
- Timings (Start and End Time for each class)
- Make sure all the details are correctly organized in the file before uploading.
- Tip: Use the template provided by the portal (if available) for the correct format to avoid errors.
- In the Timetable Upload section, click on the Upload File button.
- Select the file you have prepared (Excel or CSV).
- After selecting the file, click Upload.
- The portal will process the file and display a preview of the timetable.
- Review the preview of the timetable to ensure everything looks correct.
- Check that the class names, subject names, teacher assignments, and timing details are accurate.
- If anything is incorrect, you can edit the timetable file and re-upload it.
- After reviewing the timetable, click Confirm or Save to finalize the upload.
- The system will now store the timetable in the portal, and it will be accessible to teachers, students, and admins.
- Once the timetable is uploaded and confirmed:
- You may want to notify teachers and students that the new timetable is available on the portal.
- You can send notifications or emails through the Prerna Portal (if supported).
- आप जानकारी डाउनलोड भी कर सकते हैं, अगर आक इसकी जरूरत हो।
Common Issues and Solutions
“The timetable file isn’t uploading.”
Check if the file format is correct (Excel or CSV). Ensure the data is structured properly, and no cells are empty or incorrectly formatted.
“My timetable is showing errors after uploading.”
Review the data in the file. Check for formatting issues, such as missing commas or extra spaces. Try re-uploading the corrected file.
“I can’t find the timetable section.”
Ensure that you have the necessary permissions to upload the timetable. If you are an admin, you should have access. Contact the portal support if needed.
“How do I edit the timetable after uploading?”
If you need to make changes after uploading, you can re-upload the corrected file. Some portals allow you to edit the timetable directly from the dashboard.
FAQs
Conclusion
Uploading the timetable on the Prerna Portal is a straightforward process that allows schools to manage class schedules digitally. By following this guide, you can easily upload and update the timetable for your school, ensuring that it is always accessible to teachers and students.
This digital system not only saves time and effort but also makes scheduling more efficient and accurate. If you encounter any issues during the upload process, don’t hesitate to reach out to Prerna Portal Support.
By following these steps, you’ll have a fully updated timetable ready for use, helping keep your school organized and on track!


