
Prerna Portal Book Distribution Entry Guide Update (2026)
The Book Distribution feature on the Prerna Portal helps schools manage the distribution of textbooks and educational materials to students. It ensures that each student receives the correct books for the academic year and allows school administrators to track the distribution process efficiently.
In this guide, we’ll walk you through the step-by-step process of entering book distribution details on the Prerna Portal.

Why is Book Distribution Data Important?
The Book Distribution Entry is crucial for several reasons:
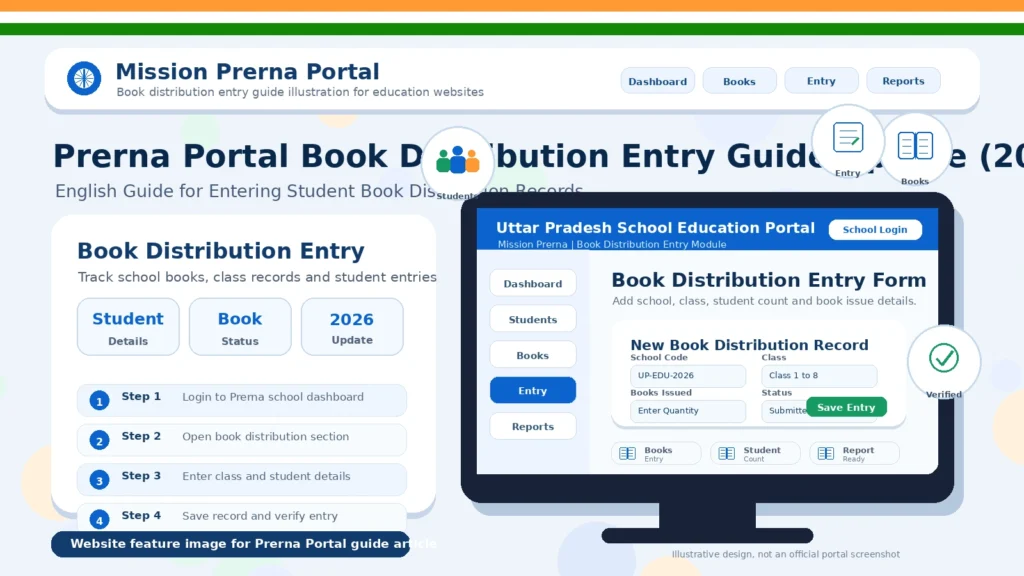
Track Books Distributed
Helps schools keep an accurate record of the books given to each student.
Monitor Inventory
Ensures that the school can monitor the number of books available and manage stock efficiently.
Government Scheme Compliance
Book distribution data is often required for compliance with government schemes or audits.
Student Access
Ensures that every student receives the necessary textbooks for their studies.
You can also read: Prerna Portal Timetable Upload Guide Update (2026)
How to Enter Book Distribution Data on the Prerna Portal
Follow these simple steps to enter book distribution details on the Prerna Portal:
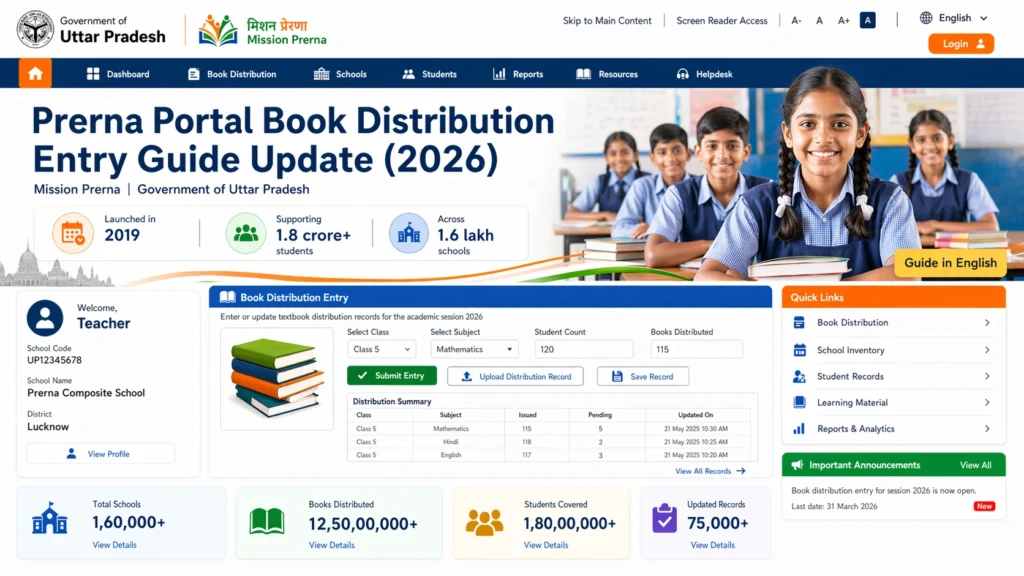
Step 1: Log in to the Prerna Portal
Open the Prerna Portal at prernaup.in.
Click on Admin Login (or Teacher Login if you have the appropriate permissions).
Enter your registered mobile number and OTP (One-Time Password) to log in.
Once logged in, you’ll be directed to the admin dashboard or teacher dashboard (depending on your role).
Step 2: Navigate to the Book Distribution Section
From the dashboard, look for the Book Distribution section in the menu or navigation bar.
Click on the Book Distribution Entry option.
Step 3: Enter Book Details
You will need to enter details for the books distributed to each student:
Book Name: Select or enter the name of the book being distributed (e.g., Science, Mathematics, History, etc.).
Book Edition: Select the edition or year of the book (if applicable).
Student Name: Choose the student(s) receiving the book.
Quantity: Enter the number of books distributed to the student.
Date of Distribution: Enter the date when the book was given to the student.
Teacher/Staff Member Responsible: Select the teacher or staff member responsible for distributing the books.
Step 4: Verify and Save the Data
Once you’ve entered all the required information:
Double-check the entries for accuracy, especially the student name, book details, and quantity.
Click Save to store the data temporarily.
Step 5: Submit the Data
After reviewing, click Submit to finalize the book distribution entry. Once submitted, the data will be saved in the system and can be accessed anytime for future reference.
Step 6: Generate Reports
r entering all the distribution data, you can generate reports on the Book Distribution:
Go to the Reports section on the portal.
Choose the Book Distribution Report.
Select the date range and filter by class, student, or book title to generate a detailed distribution report.
This w
Common Issues and Solutions for Book Distribution Entries
“The student is not appearing in the distribution section.”
Make sure that the student is registered in the student records section of the portal. If they are not registered, they will not appear in the book distribution section.
“I can’t find the book name in the dropdown list.”
If the book name is missing, ensure that the book has been added to the system by the admin. If not, contact the admin to add the new book details to the portal.
“The quantity doesn’t save correctly.”
Ensure that you are entering the correct quantity. If issues persist, try refreshing the page or checking your internet connection.
“Can I edit the distribution data after submission?”
Typically, admins have the ability to edit submitted data. If you’re unable to edit, contact the admin to request changes.
FAQs
Conclusion
Entering book distribution data on the Prerna Portal ensures that your school’s inventory is properly tracked, and that every student receives the textbooks they need. By following this guide, you’ll be able to enter the distribution details quickly and accurately, making school operations smoother.
If you encounter any issues during the entry process, feel free to reach out to your school admin or Prerna Portal support for assistance.


