
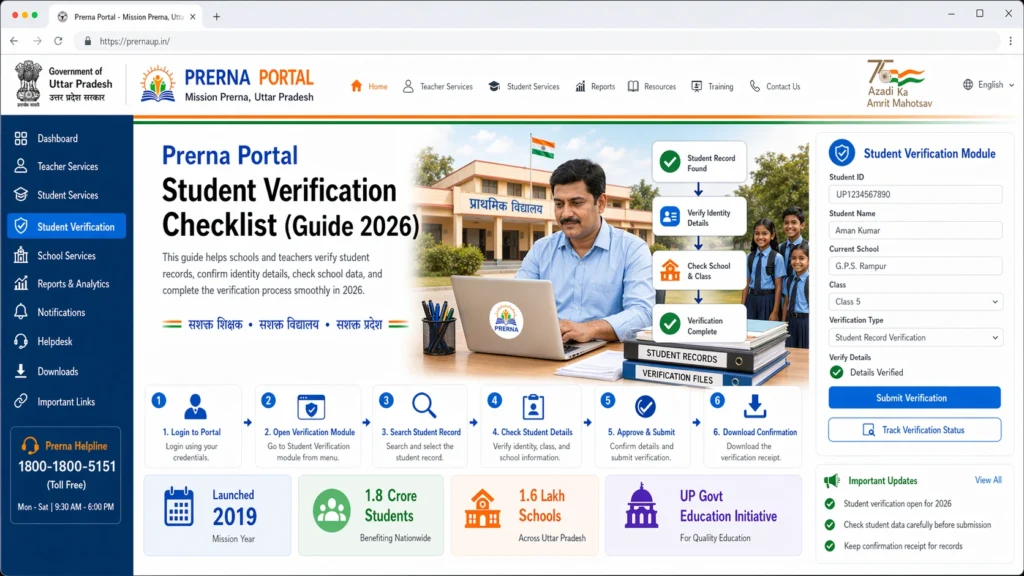
Prerna Portal Student Verification Checklist (Guide 2026)
If you’re using the Mission Prerna Portal (prernaup.in) to manage student records, one of the most important tasks is verifying students correctly. This helps ensure every child is registered, has the right data, and is ready for the new academic year.
In this guide, you’ll get a simple verification checklist, easy steps, quick tips, and real advice people are searching for but rarely find in one place.

What Does Student Verification Mean?
Student verification on the Prerna Portal means checking and confirming that:
Teachers and admins often get stuck on this step — so this checklist makes it easier.
You can also read: Prerna Portal Parent Aadhaar Mismatch Fix (Guide 2026)
Why Verification Matters
Before we jump into the checklist, here’s why verification is crucial:
Prerna Portal Student Verification Checklist (Step-by-Step)
Use this as a quick reference every time you verify students:
Login to the Prerna Portal
Make sure you’re using the correct login page: prernaup.in
Click “Teacher Login”
Enter your registered mobile number
Verify using OTP
This gets you into your dashboard.
If you don’t get the OTP, check your network or resend. Always use the mobile number linked with your school records.
Go to the Student Section
Once logged in, find the Student Data / Verification section in your dashboard.
This area may show:
New student registrations
Unverified students
Students who need updates
Verify Basic Details
For each student, check:
Name – Spelling and format
Class / Session
Date of Birth
Parent or Guardian info
Mobile number (if applicable)
Double-check the DOB and name — these are common mistakes.
Mark Students as Verified
After checking details:
Click the “Verify” button for that student
Confirm changes if prompted
Verification helps the system recognize them as active learners.
Update Any Mistakes
If something is wrong:
Use the “Edit” or “Update” option
Correct the fields
Save changes before verifying
Keep records consistent — this prevents future errors.
Check for Unattached Students
Sometimes students show up without class or school codes attached.
Use filter tools
Attach UDISE or class info before verifying
Promote Passed Out Students
For students who completed the previous year:
Make sure they are advanced to the next class
Verify them again for the new session
This prepares the system for reports and attendance.
Save & Log Out
Once verification is done:
Save all changes
Log out securely
Keep a note of any student you couldn’t verify (for follow up)
Verify Special Cases (School-specific Data)
Some students may have additional requirements such as scholarship, disability verification, or special programs.
Check if these students are linked to specific services
Verify their data according to your school’s program needs
Special data may require additional documentation or approval — make sure all steps are followed properly.
Review & Confirm Attendance Status
After verification, review whether the students’ attendance is properly updated in the system. This is especially important for new students who are joining mid-term.
Double-check that attendance records are updated
Confirm if the “Present” status is reflected in the system
Quick Tips for Teachers
FAQs
Conclusion
Student verification on the Prerna Portal might seem repetitive, but it’s a huge help in keeping school records clean and accurate. Follow this checklist every time you log in, and your school data will always be ready.
Want a printable checklist or step-by-step screenshots? Just ask.
By following this checklist and using the tips provided, you’ll be able to verify students smoothly, ensuring that everything is in order for a successful school year. Verification may seem like a small task, but it plays a crucial role in the quality of education provided to students.


