
Prerna Portal Digital Registers Explained (Guide 2026)
The Prerna Portal offers a variety of tools to enhance school management, one of the most useful being the Digital Registers. These digital registers allow teachers and administrators to manage and track attendance, student progress, lesson plans, and other essential school records efficiently.
In this guide, we will explain how Digital Registers work on the Prerna Portal and why they are an important tool for teachers and schools.

What are Digital Registers?
Digital Registers on the Prerna Portal are online versions of traditional paper-based registers. They allow teachers to input and store data digitally for:
These registers replace the need for manual record-keeping and improve the accuracy and efficiency of school management.
You can also read: Prerna Portal Student Verification Checklist (Guide 2026)
Why Use Digital Registers?
There are several benefits to using Digital Registers over traditional methods:
How to Use Digital Registers on the Prerna Portal
Follow these simple steps to use the Digital Registers feature on the Prerna Portal:
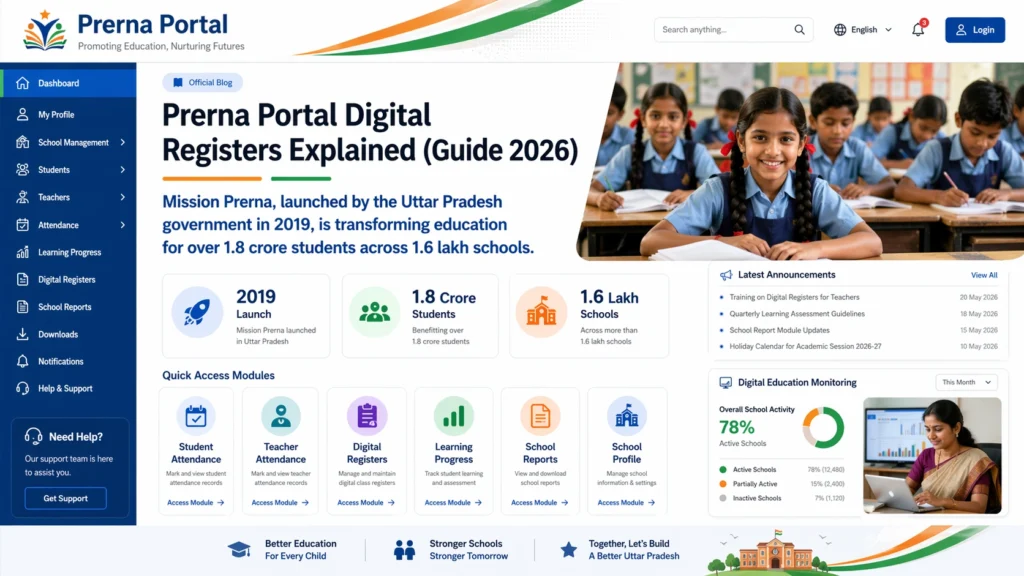
Step 1: Log in to the Prerna Portal
Open the Prerna Portal at prernaup.in.
Click on Teacher Login or Admin Login, depending on your role.
Enter your registered mobile number and OTP to access the portal.
Once you log in, you’ll be directed to your dashboard.
Step 2: Access the Digital Register Section
From your dashboard, navigate to the Digital Registers section. This may also be labeled as Class Records or Lesson Tracking depending on your role.
Select the class or subject for which you want to maintain the register.
Step 3: Enter Student Attendance
Once you’re in the Digital Register, select the Attendance option for the specific day.
Mark attendance for each student as Present, Absent, or Leave.
If needed, add notes like reason for absence or special leave (e.g., medical leave).
Save the attendance data at the end of the day.
Step 4: Track Class Progress
In the Digital Register, you can also track the progress of each student or the class as a whole.
For each subject, enter the lessons taught and topics covered.
If students need extra help or homework, note those in the register as well.
Teachers can use the register to monitor homework submissions or tests.
Step 5: Review and Edit Records
After entering the data, you can always review the attendance records or class progress.
If you need to make any corrections, simply go back and edit the entries.
Data can be exported or printed if needed for reports or meetings.
Benefits of Using Digital Registers
Data Management
Digital Registers make it easier to manage all student-related data in one place. You can track attendance, assignments, and lesson progress all in a single system.
Real-Time Updates
Attendance and progress can be updated in real-time, ensuring that everyone involved is always on the same page.
Easy Access
Teachers and school admins can access the register anytime and from anywhere, making it easier to stay organized.
Error Reduction
Digital entries reduce the chance of human error compared to paper-based records. Mistakes in marking attendance or data entry can be corrected easily.
Paperless System
Reduces the use of paper and promotes an environmentally friendly school environment.
Time-Saving
Teachers save time as they no longer need to manually write and update physical registers.
Common Issues with Digital Registers and Solutions
“I can’t access the Digital Register section.”
If you’re unable to access the Digital Register section, make sure you have the correct role permissions. Teachers or admins may need to be assigned specific access rights by your school.
“Attendance isn’t saving.”
If your attendance data isn’t saving, check your internet connection. A weak or interrupted connection may cause issues. Try saving again once you’re connected.
“I made an error while entering data. How do I correct it?”
If you notice an error, go back to the relevant entry and make corrections. The Prerna Portal allows easy edits to attendance and other records.
“I can’t view the lessons for a particular day.”
Ensure that you’re looking at the correct date in the register. If the issue persists, contact the admin to verify if your account has the necessary permissions to view and enter lesson plans.
FAQs
Conclusion
The Digital Registers on the Prerna Portal are an essential tool for teachers and administrators to keep accurate, efficient, and accessible records. From tracking attendance to monitoring lesson progress, this feature streamlines many school management tasks, saving time and reducing errors.
By following the steps in this guide, you’ll be able to easily manage student records and ensure smooth school operations. Remember to keep your data up-to-date and utilize the portal’s features to track student progress and attendance efficiently.
If you need any further assistance with Digital Registers or encounter any issues, feel free to reach out to your school administrator or Prerna Portal Support.


